
Rorkes Drift Collection
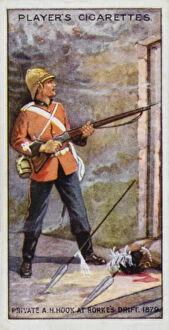
"Rorke's Drift: A Tale of Heroism and Bravery" In 1879, during the Anglo-Zulu War, Rorke's Drift became a symbol of courage and resilience


All Professionally Made to Order for Quick Shipping
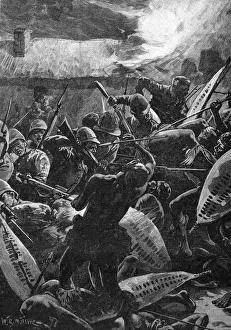
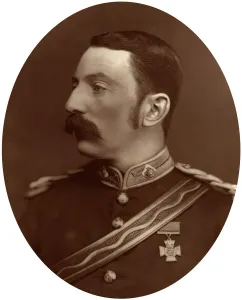
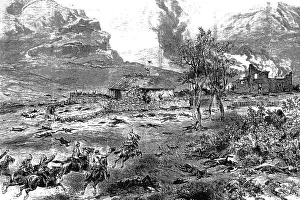
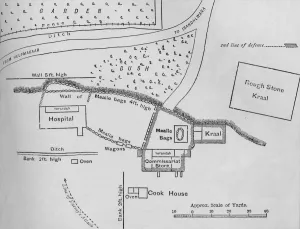
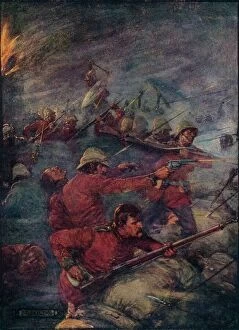
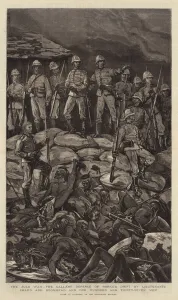
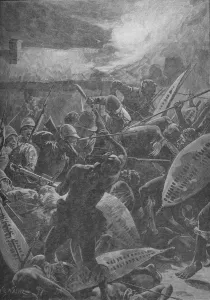
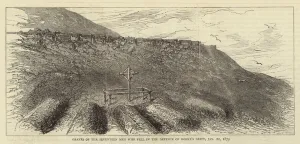
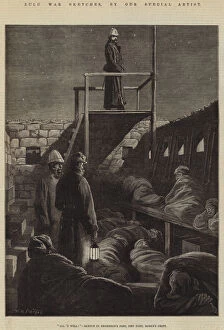
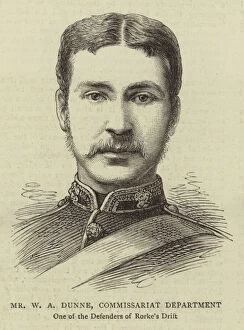
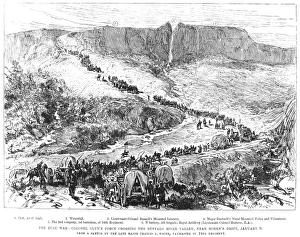
"Rorke's Drift: A Tale of Heroism and Bravery" In 1879, during the Anglo-Zulu War, Rorke's Drift became a symbol of courage and resilience. Major John Rouse Merriott Chard, VC, led the defense of this small British outpost against thousands of Zulu warriors. The plan for the defense was meticulously laid out, as depicted in an engraving from 1881. The bravery displayed by the British soldiers is captured in another engraving from that time, showing them valiantly holding their ground against overwhelming odds. The relief of Rorke's Drift on January 23rd brought hope to those defending it. An English wood engraving from that period portrays the moment when reinforcements arrived to bolster their spirits. A detailed plan of the defenses at Rorke's Drift on January 22nd can be seen in a captivating image from around 1880. This visual representation showcases how strategic positioning played a crucial role in repelling wave after wave of Zulu attacks. Joseph Ratcliffe Skelton immortalized this historic event with his artwork titled "Thus Did A Hundred Men Keep Three Thousand Savages At Bay. " Created around 1908 but popularized later, it captures the intensity and determination exhibited by these brave defenders. Lieutenants Chard and Bromhead were hailed as heroes for leading their men through a fierce hand-to-hand struggle against overwhelming odds. An artist named WR Wollen beautifully portrayed this intense battle scene in his work titled "There Was A Hand-To-Hand Struggle" created in 1902. Sadly, seventeen men lost their lives defending Rorke's Drift. Their graves serve as a solemn reminder of their sacrifice and dedication to duty. An engraving depicting these graves pays tribute to these fallen heroes who bravely fought until their last breath on January 22nd, 1879.