
Province Of Kwazulu Natal Collection
The province of KwaZulu-Natal, located in South Africa, is steeped in rich history and breathtaking landscapes


All Professionally Made to Order for Quick Shipping
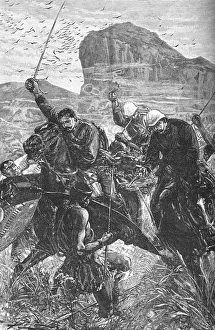
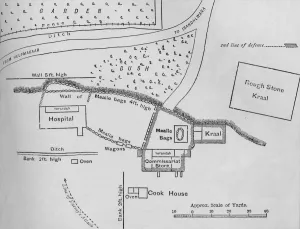
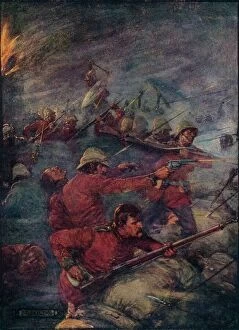
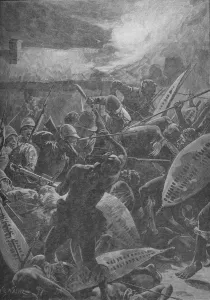
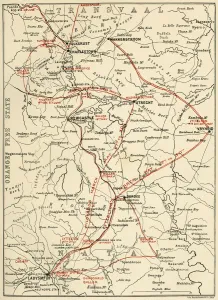
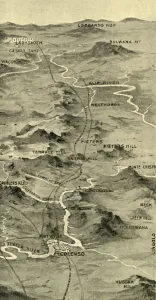
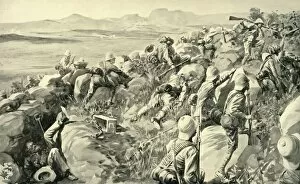
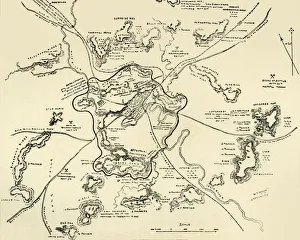
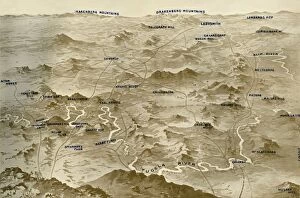
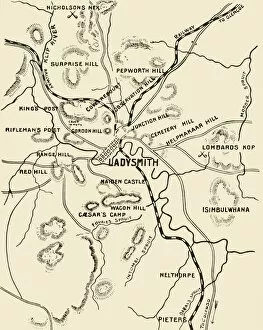
The province of KwaZulu-Natal, located in South Africa, is steeped in rich history and breathtaking landscapes. From the iconic Battle of Isandhlwana to the heroic defense at Rorkes Drift, this region has witnessed some of the most significant events in African history. Isandhlwana: The Dash with the Colours, 1879 - This captivating artwork by Joseph Ratcliffe Skelton depicts the intense battle that took place on January 22nd, 1879. It showcases the bravery and determination of both sides involved. Plan of the Defences at Rorkes Drift - Jan. 22, 1879 - A detailed plan showcasing how a small group of British soldiers successfully defended their position against overwhelming odds during one fateful day. Their courage and resilience are forever etched into history. Plan of the Marches near Isandhlwana between Jan. 12th and 22nd, 1879 - This map provides valuable insight into General Lord Chelmsford's movements leading up to the Battle of Isandlwana. It highlights strategic decisions made during this critical period. Thus Did A Hundred Men Keep Three Thousand Savages At Bay - Painted by WR Wollen in1902, this powerful image captures an intense hand-to-hand struggle during a pivotal moment in history. It serves as a reminder of both heroism and tragedy. Map Illustrating General Buller's Campaign in Natal - May-June 1900- An unknown creator meticulously mapped out General Buller's campaign for relief efforts during this tumultuous time period. The map sheds light on his strategic maneuvers across Natal. In Beleaguered Ladysmith – Watching for Buller from Observation Hill- Created in1900, this image transports us to Ladysmith where civilians anxiously awaited news about General Buller's arrival.