Home > Europe > United Kingdom > England > London > Sights > St Pauls Cathedral
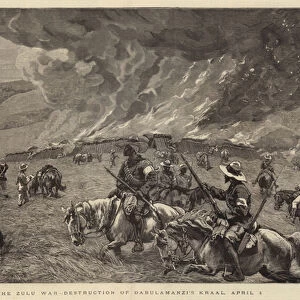
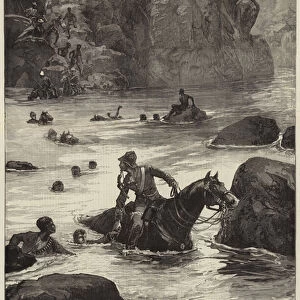
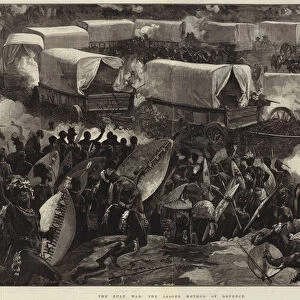
Lord Chelmsfords camp at St Paul s; Zulu War, 1879

![]()
Wall Art and Photo Gifts from Mary Evans Picture Library
Lord Chelmsfords camp at St Paul s; Zulu War, 1879
Lord Chelmsford was the head of the British forces in South Africa, whose blunders lead to the defeat at Isandlwana
Mary Evans Picture Library makes available wonderful images created for people to enjoy over the centuries
Media ID 4376072
© Mary Evans Picture Library 2015 - https://copyrighthub.org/s0/hub1/creation/maryevans/MaryEvansPictureID/10218350
1879 Blunders Chelmsford Defeat Forces Lead Zulu Isandlwana
FEATURES IN THESE COLLECTIONS
> Africa
> South Africa
> Related Images
> Europe
> United Kingdom
> England
> London
> Sights
> St Pauls Cathedral
EDITORS COMMENTS
"This evocative photograph captures the scene at Lord Chelmsford's camp at St. Paul's, Natal Colony, South Africa, during the final days of the Zulu War in 1879. Lord Chelmsford, a British military leader and the Commander-in-Chief of the British forces in South Africa, is seen here surrounded by his officers and troops, preparing for the upcoming battle against the Zulu army. However, this image was taken just weeks before the disastrous Battle of Isandlwana, which would result in one of the most significant military defeats in British colonial history. The Zulu War began in January 1879 when the British invaded Zululand to assert their control over the region and protect their colonial interests. Lord Chelmsford's blunders, including underestimating the strength and capability of the Zulu army, splitting his forces, and failing to take proper precautions against surprise attacks, ultimately led to the British defeat at Isandlwana on January 22, 1879. The battle resulted in the loss of over 1,300 British soldiers and 300 colonial settlers, while the Zulu army suffered relatively few casualties. Despite the impending disaster, this photograph offers a glimpse into the daily life of Lord Chelmsford's camp, with soldiers tending to their horses, officers conferring, and camp followers going about their business. The image also provides insight into the military tactics and strategies being employed by the British forces at the time. Today, this photograph serves as an important historical record of the Zulu War and the events leading up to the Battle of Isandlwana." Image ID: ILN_1879_07_21_019_001 Credit: Mary Evans Picture Library/ILN/Getty Images
MADE IN THE USA
Safe Shipping with 30 Day Money Back Guarantee
FREE PERSONALISATION*
We are proud to offer a range of customisation features including Personalised Captions, Color Filters and Picture Zoom Tools
FREE COLORIZATION SERVICE
You can choose advanced AI Colorization for this picture at no extra charge!
SECURE PAYMENTS
We happily accept a wide range of payment options so you can pay for the things you need in the way that is most convenient for you
* Options may vary by product and licensing agreement. Zoomed Pictures can be adjusted in the Cart.