Home > Europe > United Kingdom > Northern Ireland > County Down > Dundonald
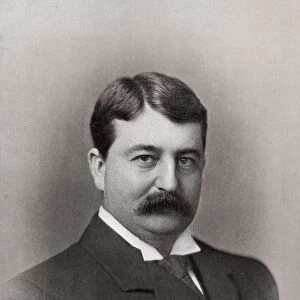
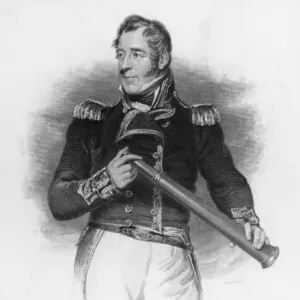
Douglas Mackinnon Baillie Hamilton Cochrane, 12th Earl of Dundonald, (1852?1935), 1902. Artist: R Faulkner
, 1902. Artist: R Faulkner")
![]()
Wall Art and Photo Gifts from Heritage Images
Douglas Mackinnon Baillie Hamilton Cochrane, 12th Earl of Dundonald, (1852?1935), 1902. Artist: R Faulkner
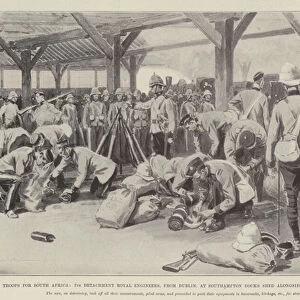
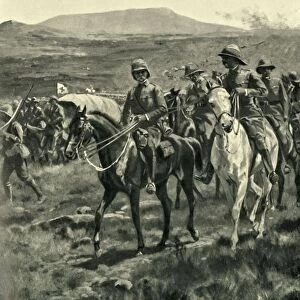
General Douglas Mackinnon Baillie Hamilton Cochrane, 12th Earl of Dundonald, 1902. Dundonald (1852-1935) commanded a mounted brigade in South Africa in the Boer War and went on to be commander of the Militia of Canada from 1902-1904. Portrait from Celebrities of the Army, published by George Newnes, (London, 1902)
Heritage Images features heritage image collections
Media ID 14905892
© The Print Collector / Heritage-Images
1899 1902 Benjamin Robert Benjamin Robert Haydon Boer War Boot Boots British Army Cavalry Cavalry Officer Cavalryman Earl Earl Of Dundonald Faulkner Gauntlet Gold Braid Haydon Tunic Aristocracy Aristocrat Footwear Military Personnel Print Collector2 Scots
FEATURES IN THESE COLLECTIONS
> Africa
> South Africa
> Related Images
> Arts
> Artists
> H
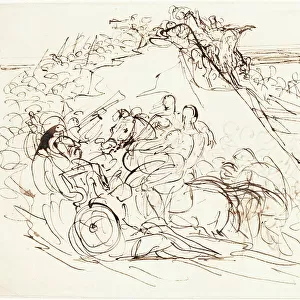
> Benjamin Robert Haydon
> Arts
> Pop art
> Celebrity portraits
> Fine art photography featuring
> Europe
> United Kingdom
> England
> London
> Related Images
> Europe
> United Kingdom
> Northern Ireland
> County Down
> Dundonald
> Europe
> United Kingdom
> Scotland
> Strathclyde
> Hamilton
> North America
> Canada
> Hamilton
> People
> Celebrities
> Related Images
EDITORS COMMENTS
This print showcases Douglas Mackinnon Baillie Hamilton Cochrane, the 12th Earl of Dundonald, in all his military glory. The portrait, created by artist R Faulkner in 1902, captures the essence of this distinguished figure who played a significant role in both British and Canadian history. Douglas Mackinnon Baillie Hamilton Cochrane was not just an earl; he was a fearless soldier and esteemed general. His leadership skills were put to the test during the Boer War when he commanded a mounted brigade in South Africa from 1899 to 1902. This war marked a turning point in his career and solidified his reputation as an exceptional military strategist. In addition to his accomplishments on the battlefield, Dundonald also held prestigious positions off it. From 1902 to 1904, he served as commander of the Militia of Canada, further showcasing his dedication to serving his country. The portrait itself is strikingly detailed and vibrant with color. Clad in a resplendent red military uniform adorned with gold braid, Dundonald exudes authority and sophistication. His sword rests at his side while he confidently gazes into the distance. This image serves as a reminder of Dundonald's remarkable contributions to both Britain and Canada during times of conflict. It immortalizes him as not only an influential figure but also as someone whose legacy continues to inspire generations today.
MADE IN THE USA
Safe Shipping with 30 Day Money Back Guarantee
FREE PERSONALISATION*
We are proud to offer a range of customisation features including Personalised Captions, Color Filters and Picture Zoom Tools
SECURE PAYMENTS
We happily accept a wide range of payment options so you can pay for the things you need in the way that is most convenient for you
* Options may vary by product and licensing agreement. Zoomed Pictures can be adjusted in the Cart.