
Wwii Collection (page 8)
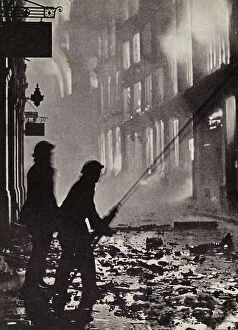
"Remembering the resilience and triumphs of WWII" St. Paul's Survives: A symbol of hope amidst destruction, St. Paul's Cathedral stands tall against the ravages of war


All Professionally Made to Order for Quick Shipping
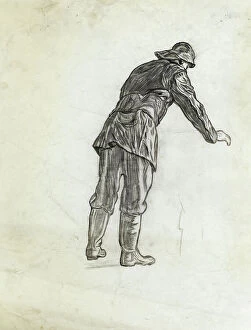
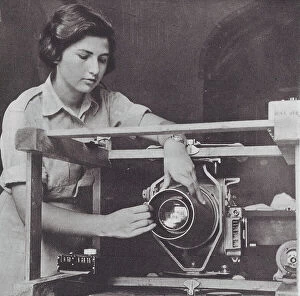
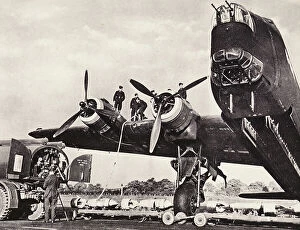
"Remembering the resilience and triumphs of WWII" St. Paul's Survives: A symbol of hope amidst destruction, St. Paul's Cathedral stands tall against the ravages of war. Winston Churchill's V for Victory: In 1942, Winston Churchill confidently flashes his iconic V sign, inspiring a nation to persevere in the face of adversity. Bomb damage in Brampton Road, Bexleyheath: Witnessing the scars left by war on our streets serves as a reminder of the sacrifices made during WWII. USA, B-17 Bomber Aircraft Cockpit: The brave pilots who manned these cockpits played a crucial role in turning the tide of World War II. Kilgour Road's Battle Scars: Traces of devastation remain etched into Kilgour Road, serving as a testament to Londoners' endurance during wartime. The Renown, Ark Royal & Sheffield: These mighty vessels epitomize Britain's naval strength and determination during WWII (c1939-1941). Potato Pete Calls for Action: A powerful poster from 1943 featuring Potato Pete rallies support for victory with an infectious spirit. Westland Lysander Takes Flight: This versatile aircraft played vital roles in covert operations throughout World War II (1941). Vintage Poster - Fedora and Army Helmet Unite: An evocative image that reminds us how individuals from all walks of life came together to defend freedom during WWII. Firefighters Standing Strong During Blitz: Brave firefighters stand ready to protect their city against relentless bombings during London’s darkest days (LFB150). Ambulance at Ladywell - Lifeline Amidst Chaos:The sight of ambulances rushing through London streets showcases unwavering dedication towards saving lives amidst the chaos brought by Blitz attacks in WW2. St Andrews Parish Church Rises Above Blitz: A symbol of resilience, St.