
Tugela River Collection
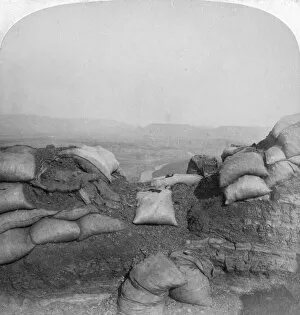
"Exploring the Historic Tugela River: A Journey Through Time" Sir Charles Warrens Force crossing the Tugela River on 17 January (litho


All Professionally Made to Order for Quick Shipping
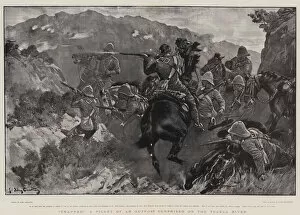
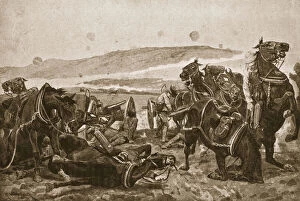
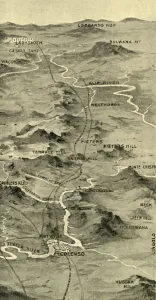
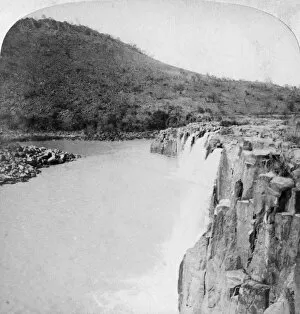
"Exploring the Historic Tugela River: A Journey Through Time" Sir Charles Warrens Force crossing the Tugela River on 17 January (litho): Witness the daring crossing of Sir Charles Warren's Force as they navigate the mighty currents of the Tugela River, etching their mark in history. The Transvaal War, the Loss of Our Guns at the Tugela River (litho): Uncover a poignant moment from The Transvaal War where our guns were tragically lost amidst the turbulent waters of the Tugela River. Some Rivers of Natal, Glimpses of the Garden Colony (litho): Immerse yourself in Natal's natural beauty as you catch glimpses of some rivers that grace this enchanting garden colony, including its crown jewel -the majestic Tugela River. Interior of a Zulu Kraal on the Tugela River (engraving): Step into an ancient world and explore an intricately engraved depiction capturing life within a Zulu kraal nestled along the banks of the powerful and sacred Tugela River. The Battle of Colenso: The loss of our guns, illustration from 'Trapped', a Picket surprised on the Tugela River (litho): Relive one fateful battle where tragedy struck as our picket was caught off guard by enemy forces along with witnessing firsthand how it impacted our gun losses during The Battle Of Colenso atTthe treacherous terrain nearTthe formidable Tugela riverbanks. The Restoration of Cetewayo, Notes on his Return to Zululand (engraving): Discover an enchanting engraving showcasing Cetewayo's triumphant return to Zululand after years spent away from his beloved homeland graced by none other than its life-giving Tugela River.