
Shakespearean Collection (page 9)
"Exploring the Shakespearean World: From Bees to Theatres" "Delve into the enchanting world of Shakespeare with 'Shakespeares Bees' by Pauline Baynes


All Professionally Made to Order for Quick Shipping
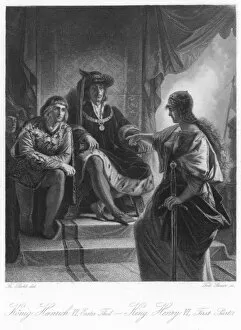
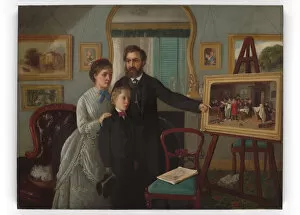
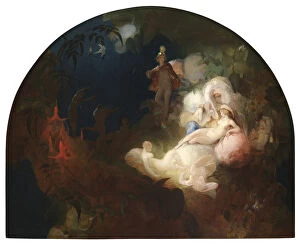
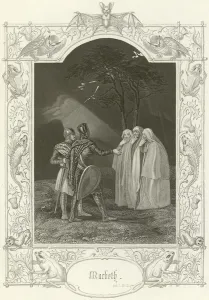
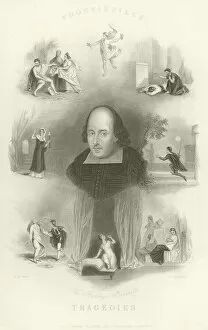
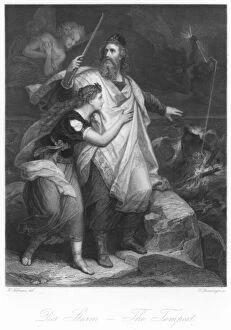
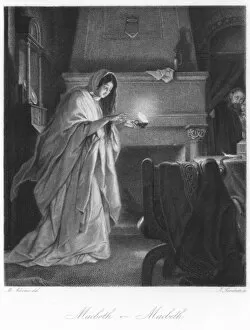
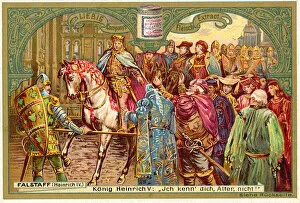
"Exploring the Shakespearean World: From Bees to Theatres" "Delve into the enchanting world of Shakespeare with 'Shakespeares Bees' by Pauline Baynes, a captivating illustration that unveils the hidden wonders within his works. " "Step back in time with a handbill advertising a performance of Hamlet at the Theatre, Leeds, transporting you to an era where Shakespeare's words echoed through grand halls. " "A heartfelt message adorned with a Shakespeare quotation on a greetings card captures the timeless beauty and profound impact of his words on our lives. " "Immerse yourself in history as Falstaff enacts Henry IV in this stunning oil painting by c. 1834, capturing both the essence of Shakespeare's character and the artist's skillful brushstrokes. " "Anthony Hopkins mesmerizes audiences as he takes on Antony and Cleopatra at London's National Theatre in 1987, bringing to life one of Shakespeare's most passionate love stories. " "Luke Fildes' masterpiece 'Jessica' beautifully portrays one of Shakespeare's beloved characters from The Merchant of Venice, showcasing her strength and complexity through artistry. " "Even during Christmas festivities, William Shakespeare continues to inspire us with his presence on greeting cards, reminding us that his legacy transcends time and seasons. " "'A Midsummer Night's Dream, ' Act 4 Scene 1 comes alive in November 1857 through an exquisite portrayal that transports viewers into the magical realm created by Shakespeare himself. " "Henry James Townsend captures Ariel from 'The Tempest' in this remarkable artwork from c1870, allowing us to glimpse into the ethereal world inhabited by spirits under Prospero’s command. " "Intriguing cartoon featuring Henry Irving and F B Chatterton brings humor while paying homage to two legendary figures who brought countless Shakespearian characters to life. "