
Royal Field Artillery Collection
"Remembering the Valor: A Glimpse into the Royal Field Artillery's Heroic Journey" In this captivating black and white photo


All Professionally Made to Order for Quick Shipping
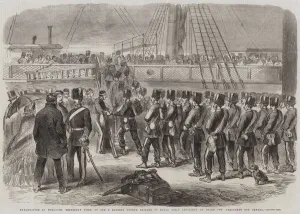
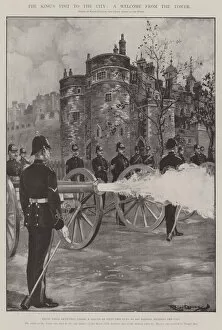
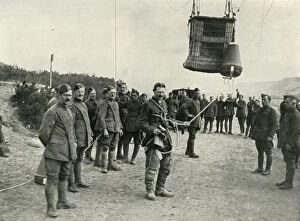
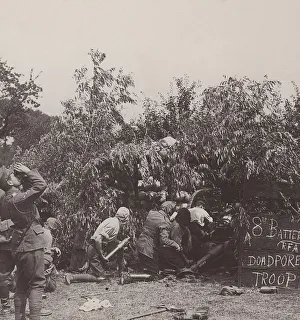
"Remembering the Valor: A Glimpse into the Royal Field Artillery's Heroic Journey" In this captivating black and white photo, Major Harrison stands tall alongside the brave officers of the 76th, 81st, and 82nd Batteries Royal Field Artillery at Newport Junction. Their resolute expressions mirror their unwavering commitment to duty. Witness Acting-Bombardier H. A. Creasey's extraordinary courage as he fearlessly assists in unloading a burning ammunition wagon amidst relentless shellfire. His selflessness embodies the indomitable spirit of these artillerymen. A vivid color lithograph transports us back to c. 1915 when the Royal Field Artillery galloped their guns with unparalleled precision and speed. Their synchronized movements symbolize their dedication to supporting troops on the front lines. Embarking upon Woolwich, E Battery Fourth Brigade boards the Melbourne bound for Canada in an engraving that captures both anticipation and determination. These men leave home behind, ready to serve wherever duty calls. The Transvaal War casts its somber shadow through a poignant black and white photograph depicting casualties at the frontlines. We honor those who made ultimate sacrifices while defending our values and freedom. Amidst grandeur, we witness King's Visit to City where a warm welcome from The Tower signifies gratitude towards these valiant soldiers who safeguarded our nation during times of turmoil. Once again, Acting Bombardier H. A. Creasey emerges as a hero in a vibrant color lithograph showcasing his bravery under heavy shellfire near Ypres on April 25th, 1915. His actions epitomize resilience amidst chaos. Another glimpse into The Transvaal War reveals officers killed and wounded; their sacrifice etched forever in history's annals—a reminder of their unwavering loyalty till their last breaths.