
New Zealander Collection (page 7)
"Unveiling the Spirit of New Zealand: A Journey through History and Culture" From conquering the world's highest peak to making groundbreaking scientific discoveries


All Professionally Made to Order for Quick Shipping
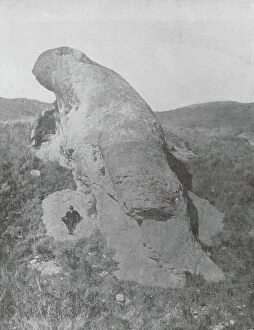
"Unveiling the Spirit of New Zealand: A Journey through History and Culture" From conquering the world's highest peak to making groundbreaking scientific discoveries, New Zealanders have left an indelible mark on the world. Sir Edmund Hillary, a legendary mountaineer and explorer, etched his name in history when he stood alongside Tenzing Norgay at the summit of Mount Everest on May 28, 1953. But the spirit of a New Zealander extends far beyond mountains. Gustave Doré's captivating artwork from 1872 showcases their rich cultural heritage, while images of the New Zealand Mounted Rifles in 1936 remind us of their bravery and dedication. Innovation knows no bounds for these Kiwis. Ernest Rutherford, a Nobel prize-winning atomic physicist in the early 20th century, pushed boundaries that revolutionized our understanding of science. The sacrifices made by ANZAC soldiers during World War I are immortalized as they march towards battle in France. Their courage echoes through time as we witness them proudly holding captured German flags. Leadership is another trait ingrained within every New Zealander. The Rt. Hon. W. F Massey's portrait from 1927 serves as a reminder of his influential role in shaping the nation's destiny. Delving into Maori culture reveals intricate details like ornamental ear pieces crafted with bowenite - showcasing their artistic prowess passed down through generations. Tattoos worn by chiefs tell stories steeped in tradition and honor. As we explore further across oceans, Australia and New Zealand emerge on maps as significant landmarks representing exploration and discovery throughout history. Lastly, an image taken possibly during an international student assembly in Washington D. C. , 1942 captures unity amidst diversity - symbolizing how even abroad, New Zealanders continue to make their presence felt globally. New Zealanders embody resilience, adventure-seeking spirits intertwined with deep-rooted traditions that shape their identity.