
Isandula Collection
"Remembering the Battle of Isandula: A pivotal moment in the Zulu War" The Battle of Isandula, also known as Isandhlwana, holds a significant place in history


All Professionally Made to Order for Quick Shipping
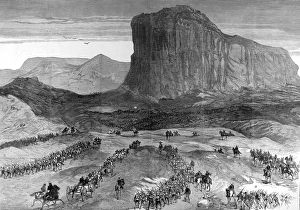
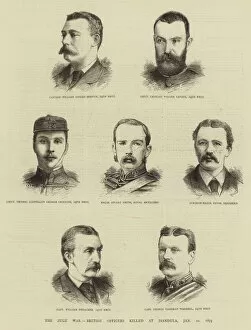
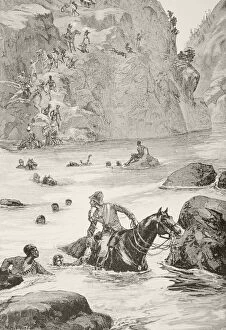
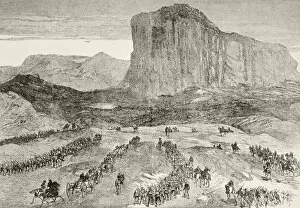
"Remembering the Battle of Isandula: A pivotal moment in the Zulu War" The Battle of Isandula, also known as Isandhlwana, holds a significant place in history. It was here that British forces clashed with the mighty Zulu warriors during the Zulu War. The scene at Isandula Hill witnessed fierce fighting and immense bravery on both sides. In this captivating sketch, we catch a glimpse of the positions held by the forces engaged in battle on that fateful day of January 22nd. The engraving showcases the intensity and chaos that unfolded during this historic event. Tragically, many brave officers from the 24th Regiment lost their lives at Isandula. Their sacrifice is immortalized in an emotional engraving depicting these fallen heroes who fought valiantly for their country. Amidst all this turmoil, General Lord Chelmsford played a crucial role. His leadership and strategic decisions shaped the outcome of this conflict. A colorful lithograph captures his presence amidst the chaos, highlighting his significance in this chapter of history. The aftermath of battle paints a grim picture as British soldiers are seen fleeing from pursuing Zulu warriors. This haunting image serves as a reminder of both triumphs and tragedies experienced during war. Years later, lantern slides bring to life scenes from Isandlwana - images frozen in time but forever etched into our collective memory. They serve as visual reminders to honor those who fought bravely on both sides during one of Africa's most significant conflicts. As we reflect upon these historical events surrounding "Isandula, " let us remember those who perished and pay tribute to their courage and sacrifice for causes they believed in – shaping not only South African history but also leaving an indelible mark on world affairs.