
Buddhist Collection (page 13)
"Buddhist: A Journey through Spiritual Art and Protest" Embark on a captivating journey into the heart of Buddhism


All Professionally Made to Order for Quick Shipping
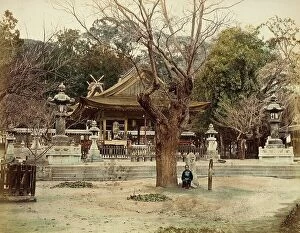
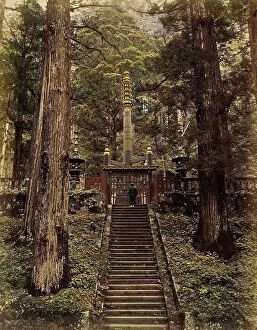
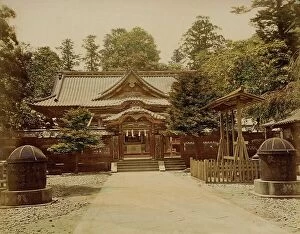
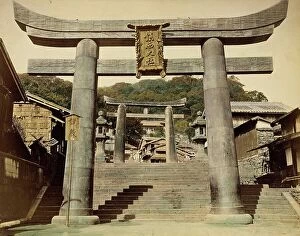
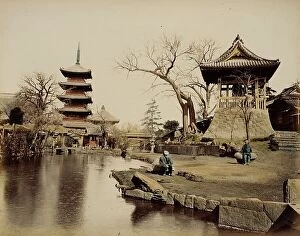
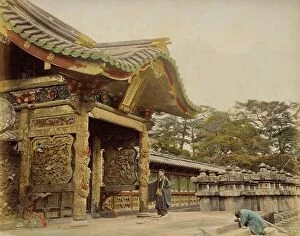
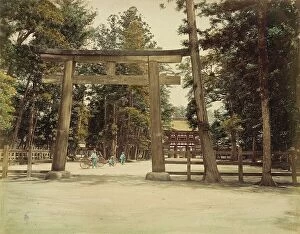
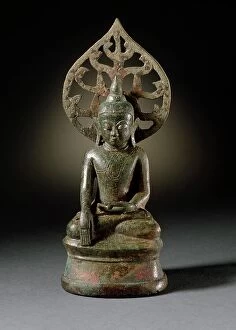
"Buddhist: A Journey through Spiritual Art and Protest" Embark on a captivating journey into the heart of Buddhism, where ancient traditions and profound teachings intertwine with breathtaking artistry. From the vibrant Wheel of Life to the serene Walking Meditation led by Thich Nhat Hanh in Paris, immerse yourself in the rich tapestry culture. Travel across continents, from China to India, as you witness the majestic Padmasambhava statue at Kathok Wodsallin Gompa in Yuksom. Marvel at its intricate details that embody centuries of devotion and enlightenment. Yet amidst tranquility, history reveals moments of defiance. Witness the powerful image captured by Malcolm Browne - Buddhist monk Thich Quang Duc's self-immolation in Saigon. His act symbolized resistance against oppression and injustice during President Diem's reign. Seek solace within Cambodia's Angkor Wat Temple as its reflection dances upon a tranquil lake. Let this ethereal sight remind you of life's impermanence and the cyclical nature depicted in Bardo Mandala - a thangka portraying existence between death and rebirth. Delve deeper into Zen Buddhism through timeless artworks like "Catching the Ox" or "Herding the Ox. " These paintings depict an inner journey towards self-realization, guiding us along our own path to enlightenment. Discover Nepal's spiritual sanctuary at Boudha Stupa, also known as Boudhanath. This sacred site stands tall as a testament to faith and unity among Buddhists worldwide. Intriguingly diverse yet united by shared beliefs, Buddhism transcends borders while leaving an indelible mark on humanity’s collective consciousness. Join this extraordinary odyssey through time and space – where wisdom meets artistry – revealing truths that resonate across cultures for generations to come.