
Isandhlwana Collection
"Isandhlwana: A Historic Battlefield of the Zulu War" Step back in time to the scene of one of history's most significant battles, the Battle of Isandlwana


All Professionally Made to Order for Quick Shipping
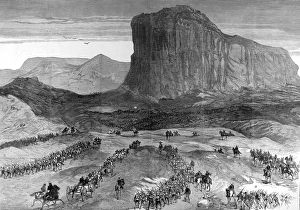
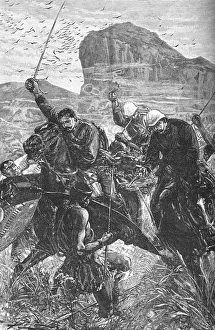
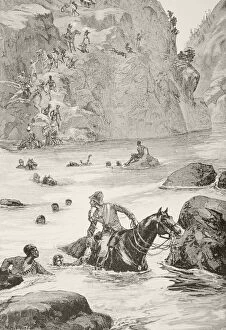
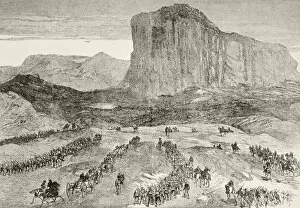
"Isandhlwana: A Historic Battlefield of the Zulu War" Step back in time to the scene of one of history's most significant battles, the Battle of Isandlwana. This pivotal event took place during the Zulu War, forever etching its name into the annals of military history. Lord Chelmsford's retreat from Isandhlwana marked a turning point in this fierce conflict. The Dash with the Colours, captured in 1879, vividly portrays the intensity and bravery exhibited on both sides. Delve deeper into this captivating chapter with a plan showcasing the marches near Isandhlwana between January 12th and 22nd, 1879. Every step taken by soldiers left an indelible mark on this hallowed ground. The Battle of Isandlwana itself stands as a testament to courage amidst adversity. At Bay, warriors clashed fiercely on that fateful day - January 22nd, 1879. Explore a detailed battle plan capturing every strategic move made during those intense hours. As we revisit Isandhlwana through engravings and sketches from that era, we witness Fort Melvill standing tall against formidable odds. Its defenders fought valiantly to protect their position and honor. Rorke's Drift at daybreak on January 23rd witnessed brave souls defending their post against all odds. Their unwavering determination echoes through time as they stood strong against relentless attacks. Gaze upon facsimiles of sketches depicting Isandula Hill - an enduring symbol of resilience amid chaos. These images transport us back to that momentous battle where heroes were born and legends forged. Located in Natal, South Africa today, Isandhlwana remains a sacred site commemorating those who sacrificed everything for their cause. It serves as a reminder of our shared human history and honors Major Gonville Bromhead VC – one of the many heroes who emerged from this brutal conflict.